
Top 5 VS Code Extensions Every Developer in Nepal Should Install Today
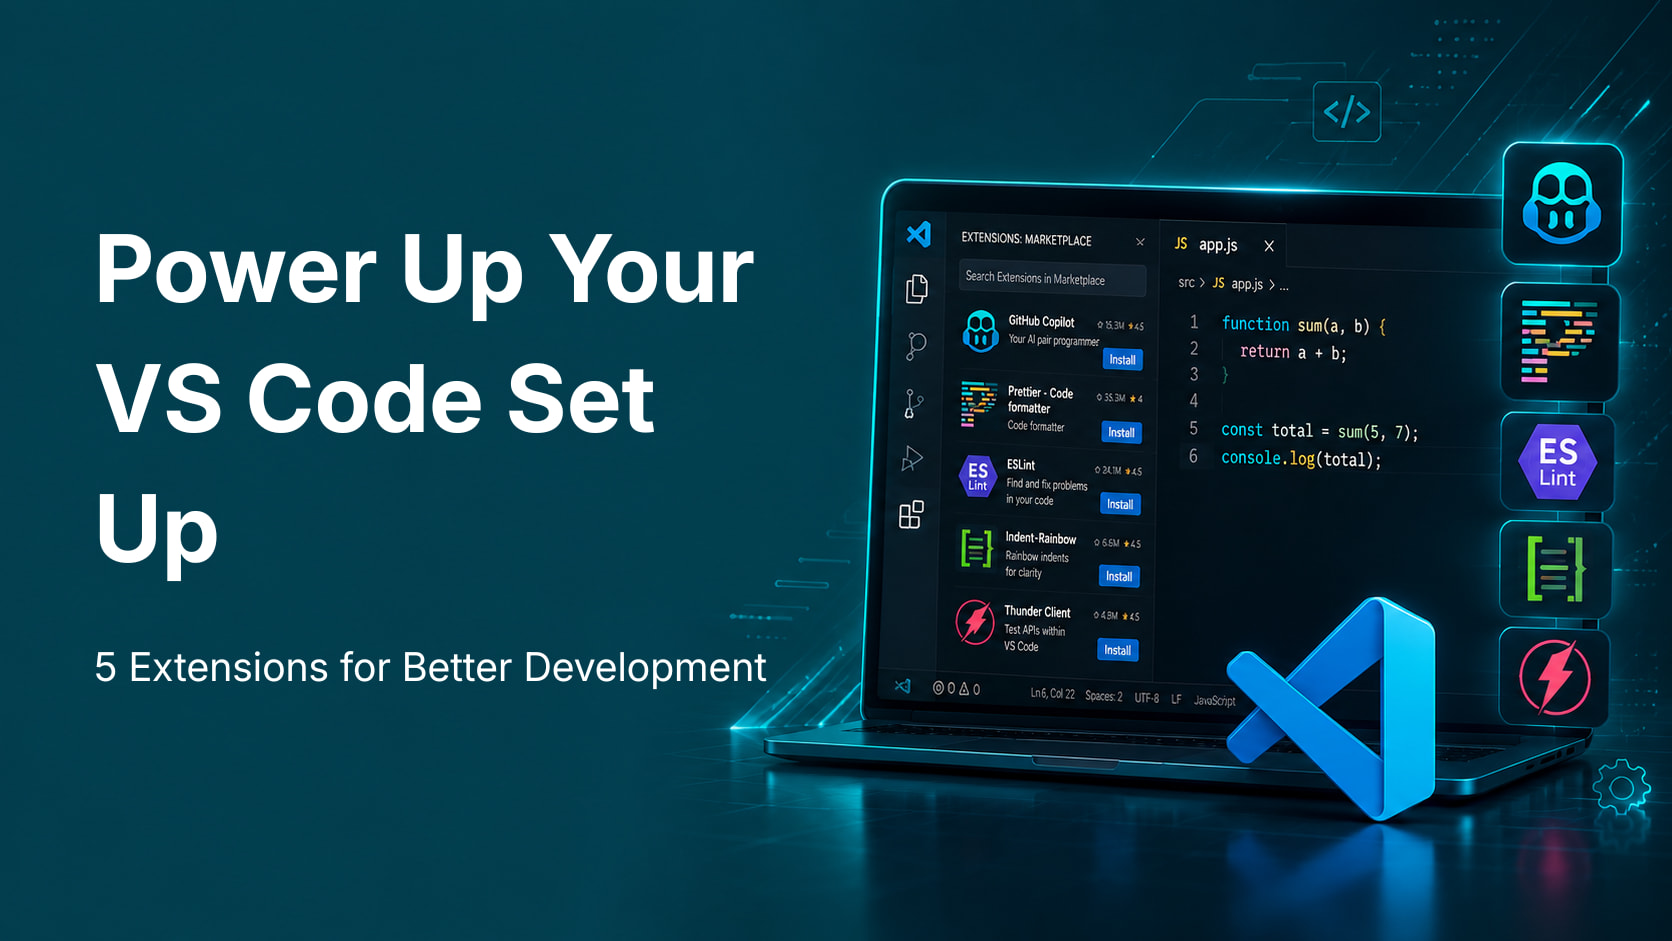
It is one thing that distinguishes productive developers from those who waste half of their time on things that the editor should do automatically.
Nepalese developers usually start using VS Code right out of the box and believe that by doing so they are getting the best out of the software. They are wrong. VS Code without extensions is like driving in first gear. It works but you are not exploiting its full potential.
There are over 55,000 extensions in VS Code's extension marketplace in 2026. Most of these extensions are either abandoned, poorly developed or they provide solutions for problems which don't even exist. However, there are some extensions that can change your career. With just five extensions you will become faster, you will catch more bugs before they go live, you will keep your code neat, manage your Git history inside the editor and test your APIs without changing the app.
The above five are precisely what this guide is all about. These are constantly updated, extremely popular, highly effective, and best of all, free to download. If you are a first-year BSc CSIT student who needs to set up his/her development environment or a developer working at any company in Kathmandu who just wants to step up his/her game, download them now.
Why Your VS Code Setup Matters More Than Most Beginners Realize
Prior to installing the extensions, it is important to know why it is important.
The tools you use everyday create the habits you adopt as a developer. A developer who is working in a well-configured VS Code environment creates habits of clean coding, proper formatting, error-checking, and organized version control. On the other hand, a developer who uses a poorly configured tool for coding creates bad habits of dirty coding, missing out on errors and unnecessary debugging.
These extensions listed here are not luxury. These are the minimum requirements for professional developers from companies such as Leapfrog Technology, Cotiviti Nepal, and Fusemachines. This will be a clear signal that you take your profession seriously whenever you join an interview or start a new job position.Understanding what Nepal's IT employers are actually looking for in developers makes it clear that professional development habits are evaluated alongside raw technical skills.
Now the extensions.
Extension 1: GitHub Copilot: Your AI Pair Programmer
Downloadable from: the VS Code extensions store with search for "GitHub Copilot". Pricing: Free plan comes with 50 premium requests per month. Students with school verified emails can use it for free via GitHub Student Developer Pack.
GitHub Copilot is the most popular coding assistant in the world as of 2026 and it comes as a part of VS Code editor. As per the definition, it generates code based on what you type. But it is far more than that.
As you begin to type the code of any function, Copilot analyzes the context of the whole file and suggests you a full-fledged code in gray faded text. Press Tab to accept it. Continue typing if you do not want to accept it. It does it all, from simple utility function to data transformations, sorting algorithm code, API code, and unit test codes.
Apart from the ghost text features, there is the feature where the GitHub Copilot Chat can help by giving answers to your coding queries right in the editor where you can ask it to give an explanation to any error you encountered in your code, refactor a function, or even generate tests for a particular piece of logic.
In terms of real life results and impact, it is true to say that developers working with GitHub Copilot manage to do their work 40% faster on average when it comes to those tasks that can benefit from the assistance of AI, including such tasks as boiler plate generation, implementation of coding patterns and documentation.
An important point for students to remember about GitHub Copilot is that they should consider using it as an education tool rather than an answer machine, so when there is some code that you do not understand, you should ask for an explanation of each line.The foundation matters more than the shortcut, which is why programs like Knowlary's Full Stack Java Training build the technical depth that makes AI coding tools genuinely powerful rather than a crutch.
How to install: Open VS Code, click the Extensions icon in the left sidebar (or press Ctrl and Shift and X), search "GitHub Copilot," click Install. Sign in with your GitHub account. If you are a student, apply for the GitHub Student Developer Pack at education.github.com for free Pro access.
Extension 2: Prettier: Code Formatter That Eliminates Arguments About Style
Install it from: the VS Code Extensions marketplace by searching "Prettier Code Formatter" Price: Completely free
This is a common problem faced by the developers sooner or later in their careers, and sometimes even at the very beginning of their work in the team. While some developers prefer two spaces of indentation, the others prefer four. While some prefer to place opening curly braces on the same line as the function declaration, the others like placing it on the new line. This or that developer prefers using single quotes for strings while the other uses double quotes.
All these things do not influence the execution of the code in any way; however, it makes diffs more complicated, obfuscates code and results in unnecessary discussions in code reviews. Prettier finally resolves this problem.
Prettier is a very opinionated code formatter. With every file saved it formats your code according to certain rules. Everything is done automatically, no thinking is required from you: you write the code, Prettier makes it beautiful.Indentations, spaces, quotes, semicolons, brackets - everything is done automatically.
Prettier supports JavaScript, TypeScript, HTML, CSS, JSON, Python, Java and almost all the other programming languages. It is the most popular plugin for formatting in VS Code.
The reason why Prettier is important in relation to your career is that well-formatted code is the very first thing that any experienced developer will see when looking at your code. The submission of a portfolio assignment or coding test that contains inconsistently formatted code shows that you are ignoring the professional standards. Prettier ensures that you no longer have to worry about this ever again. This happens automatically each time you save your code.
How to do this: Open your VS Code settings (Ctrl+comma), type in "Format on save," and turn this feature on. Then choose Prettier as your default formatter from the same settings menu. You will now have all your files automatically formatted to professional standards each time you save.
How to install: Extensions, type "Prettier Code Formatter" into the search bar, click on Install. Turn on "Editor: Format On Save" and set "Editor: Default Formatter" to Prettier.
Extension 3: GitLens: Git Superpowers Built Into Your Editor
Install it from: the VS Code Extensions marketplace by searching "GitLens" Price: Free with optional paid features for advanced team use
Basic Git functionalities are built into VS Code itself. That means you can check which files have changes, stage and commit them. However, GitLens takes the connection between Git and the developer from basic functionality to the full understanding of the history of the whole codebase.
One of the most useful features of the tool for many developers is blame in line. If you read some code and you wonder why it is written the way it is, GitLens will show you who did it, when and why in the comment explaining the commit, right in the same line of code. No terminal, no Git interface switching – all the context right here in the editor.
However, GitLens has not only blame, but a full history viewer for Git, where you can see all the commits ever done on your project, understand what exactly has changed in each of them, compare any two versions of the file and see how the codebase has been developing over time. Another interesting function is heatmap that visually highlights those parts of a file that have changed more recently and more often than others – places where bugs are most likely to occur.
For students who are learning Git as well as basic programming concepts, GitLens turns abstract ideas about commits, branches, and history into real life with visuals and graphs that cannot be obtained from reading Git documentation alone. GitLens helps experienced developers by not requiring you to leave your editor in order to analyze almost all aspects of Git.
The free version of GitLens is absolutely sufficient. GitLens Pro is meant for collaboration and therefore may not be needed for individual developers or students.
Deep understanding of Git is probably one of the most reliable needs in Nepal's tech market. It is tested in interviews. Real-life projects require it. With GitLens, every session of VS Code becomes an implicit lesson on Git itself.This is directly relevant to building a portfolio that impresses Nepal's IT employers, where clean Git history with meaningful commit messages is one of the things hiring managers look at.
How to install: Open Extensions, search "GitLens," click Install. The extension activates automatically and starts showing inline blame information immediately.
Extension 4: ESLint: Catch Code Problems Before They Become Bugs
Install it from: the VS Code Extensions marketplace by searching "ESLint" Price: Completely free
ESLint is a linter – an extension that reads your code as you write it and highlights possible errors, bad practices and violated rules while you still haven’t run your code. While Prettier is the extension that will ensure that your code looks good, ESLint will help you to make sure that it works well.
Some of the problems that ESLint detects include usage of undeclared variables, incorrect usage of number of arguments in a function, referencing to possibly undefined variable, usage of deprecated syntax, absence of return statement in functions, unused variables and many more that would either lead to bugs on the production level or just make your code less readable and harder to maintain.
You get red and yellow underlines next to problems detected by ESLint directly in the code as you type it. You just need to hover over the underlined problem to see what’s the problem and how to solve it. Many of the problems have automatic fixing that can be applied just with one click or even configured for automatic fixing upon saving of the file.
For JS and TS developers, ESLint is practically compulsory in the professional world. All proper companies use ESLint in their code reviews and continuous integration processes. A developer who pushes a lot of ESLint errors is sending the message that they are not using any professional standard. A developer who pushes clean ESLint results is conveying the reverse message.
ESLint works alongside Prettier. Prettier takes care of the formatting aspects. ESLint takes care of code quality and correctness. The two together are the cornerstone of any professional JS or TS development environment. They are used as a routine matter at all serious software companies as well as at the most prominent Nepali technology companies.
The equivalent for Python developers would be Pylint or Flake8, and there are also great VS Code plugins available for the latter.
How to install: Open Extensions, search "ESLint," click Install. In your project, create a .eslintrc.json configuration file or use a standard configuration like eslint:recommended as your base rule set.
Extension 5: Thunder Client: API Testing Without Leaving VS Code
Install it from: the VS Code Extensions marketplace by searching "Thunder Client" Price: Free with optional paid team features
Ultimately, all developers who develop applications that utilize APIs will encounter the exact same roadblock. You will write backend code. In order to check whether or not your API endpoint works, you open up Postman, configure a request, execute it, go back to VS Code, see that the response you got was not the one you wanted, go back to Postman, modify your request, and so forth.
With Thunder Client, you can do away with the entire switching process since it allows you to do all the API testing right in VS Code.
Thunder Client is a lightweight REST API client, available as an extension in VS Code. It provides you with all the tools necessary for testing API endpoints such as sending GET, POST, PUT, PATCH, DELETE requests and others, configuring the header and the token, setting up request body, seeing response with syntax highlighting, saving requests to collections, and even performing some basic testing for the response.
The interface is clean and straightforward, very similar to Postman's workflow but without ever having to go out of your code editor. You build your API with Node.js or a REST endpoint with Django, and when you are ready to test it right away, you open up Thunder Client in the VS Code sidebar, make a new request, enter the URL and its parameters and hit send. The response is displayed almost immediately in the same window.
This tool saves a lot of time for full-stack programmers developing software with the front and back end and makes the process of understanding APIs much easier for beginners since you can get your results almost instantly from your code and don’t have to go through the process of setting up the test environment separately.
The other neat feature Thunder Client has is support of environment variables, which allows you to change environments depending on whether you test your app on your local server, staging one or a production one, all without rewriting your requests.
This kind of professional development workflow is exactly what the Data Science and Machine Learning course at Knowlary and the Full Stack training introduce alongside technical concepts, because knowing the right tools is as important as knowing the right code.
How to install: Open Extensions, search "Thunder Client," click Install. The Thunder Client icon appears in the left sidebar immediately after installation.
The Bonus Extension You Should Also Consider
Although this guide concentrates on five extensions that every programmer should have, there is another extension that deserves special mention since it is truly life-changing for everyone trying to learn and explain the code.
With Error Lens, all the messages about errors and warnings usually displayed in a separate Problems pane at the bottom of VS Code appear right next to the code that triggers those errors and warnings. With Error Lens, you see the message about the error right above it in red or yellow letters, without having to search for it somewhere else.
How to Install All of These at Once
The easiest way to get all five of those is to launch VS Code, press Ctrl + Shift + X and then find each one by searching for its name:
GitHub Copilot is an extension providing AI-powered code completion suggestions and chat assistance.
Prettier Code Formatter will format your code with every save. GitLens will allow you to see who wrote the code that you are working with as well as give you the ability to browse the full commit history. ESLint will check for any issues with code quality and practices as you write your code.Thunder Client will provide you with a fully fledged API client inside VS Code. Get all five of them, spend twenty minutes learning how to use them from their documentation and configure Prettier and ESLint. Your first week will pay for your efforts.
What Comes After the Extensions
Extensions increase your speed. Skillset improves your abilities. It makes sense to use both.
The proper configuration of the VS Code environment becomes the container for your work. The quality of what you build in the said container depends upon your programming foundation, your knowledge of systems you are working in, and your technical background.
As a student from Nepal trying to build a development environment for the first time, this combination of the above mentioned five extensions and your studies in relevant topics will do you a world of good. Whether that is data science through Knowlary's Data Science and Machine Learning course, full-stack development through structured Java training, or building digital skills through Knowlary's Digital Marketing Mastery course, the right environment combined with the right curriculum is what produces job-ready capability, not either one alone.
It is not the developers who have the greatest knowledge of various tools but rather those who know how to apply the tools effectively and possess good depth in the domain in which they work and always produce quality, professional-level work. The five extensions discussed above are part of that goal.
Have a proper environment set up. Produce clean code. Work on some projects. Push all your code to GitHub. And be present at every single opportunity with your development workflow.
For more practical career guides, coding resources, and honest insights into Nepal's IT industry, visit the Knowlary blog and explore the Knowlary course library.